

🐉✨ Summon a Hatchling: Baby Dragon Crochet Tutorial ✨🐉
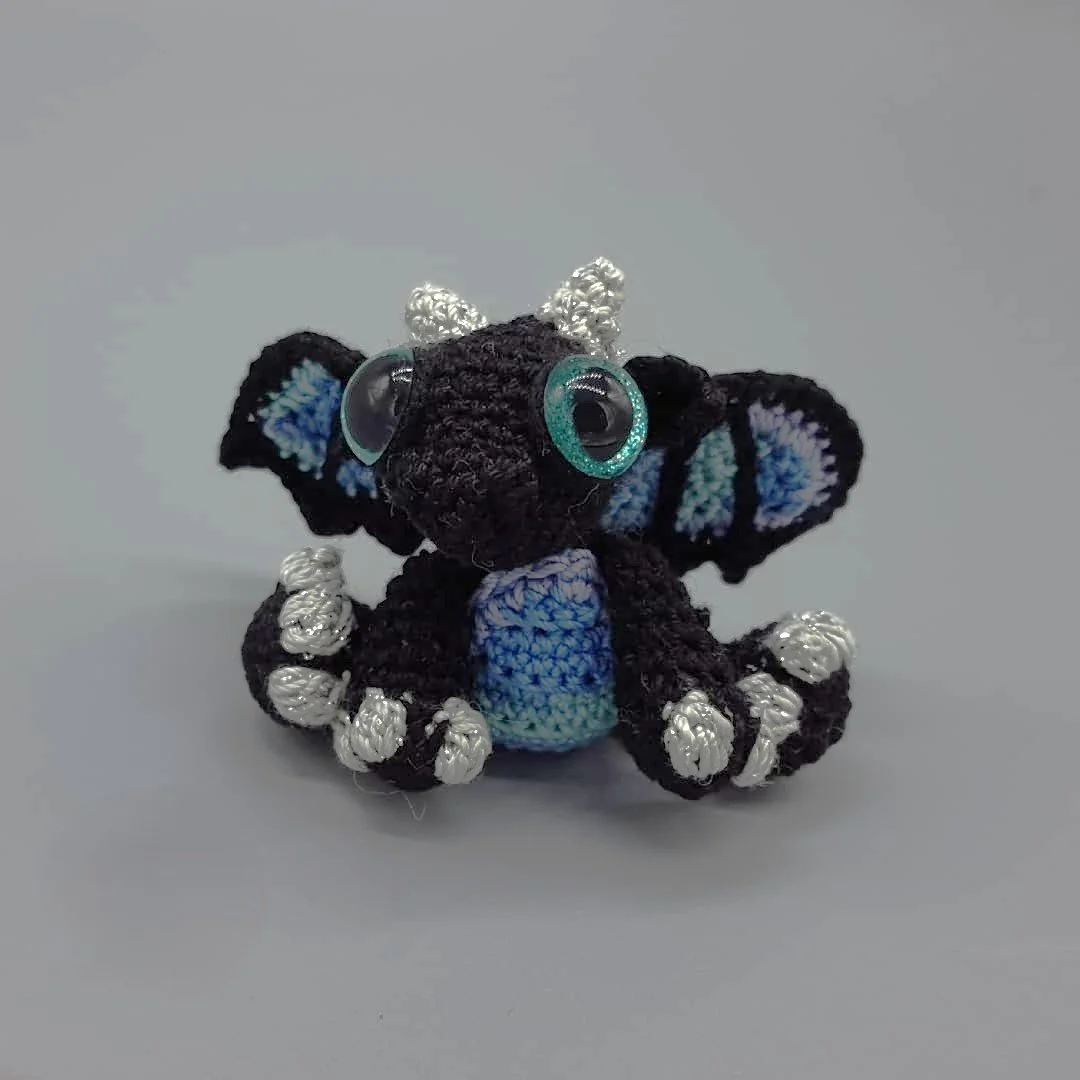
From the Spellbook of Magical Clayworks
🌿 “In the quiet glade where mushrooms glow and moonlight dances on dew, a baby dragon stirs. Today, dear crafter, we shall bring this gentle creature to life—not with fire, but with fiber. This pattern, pulled straight from the spellbook tucked within the Magical Clayworks portal, will guide your hands through the enchantment of sculpting a hatchling with yarn and intention.” 🌙
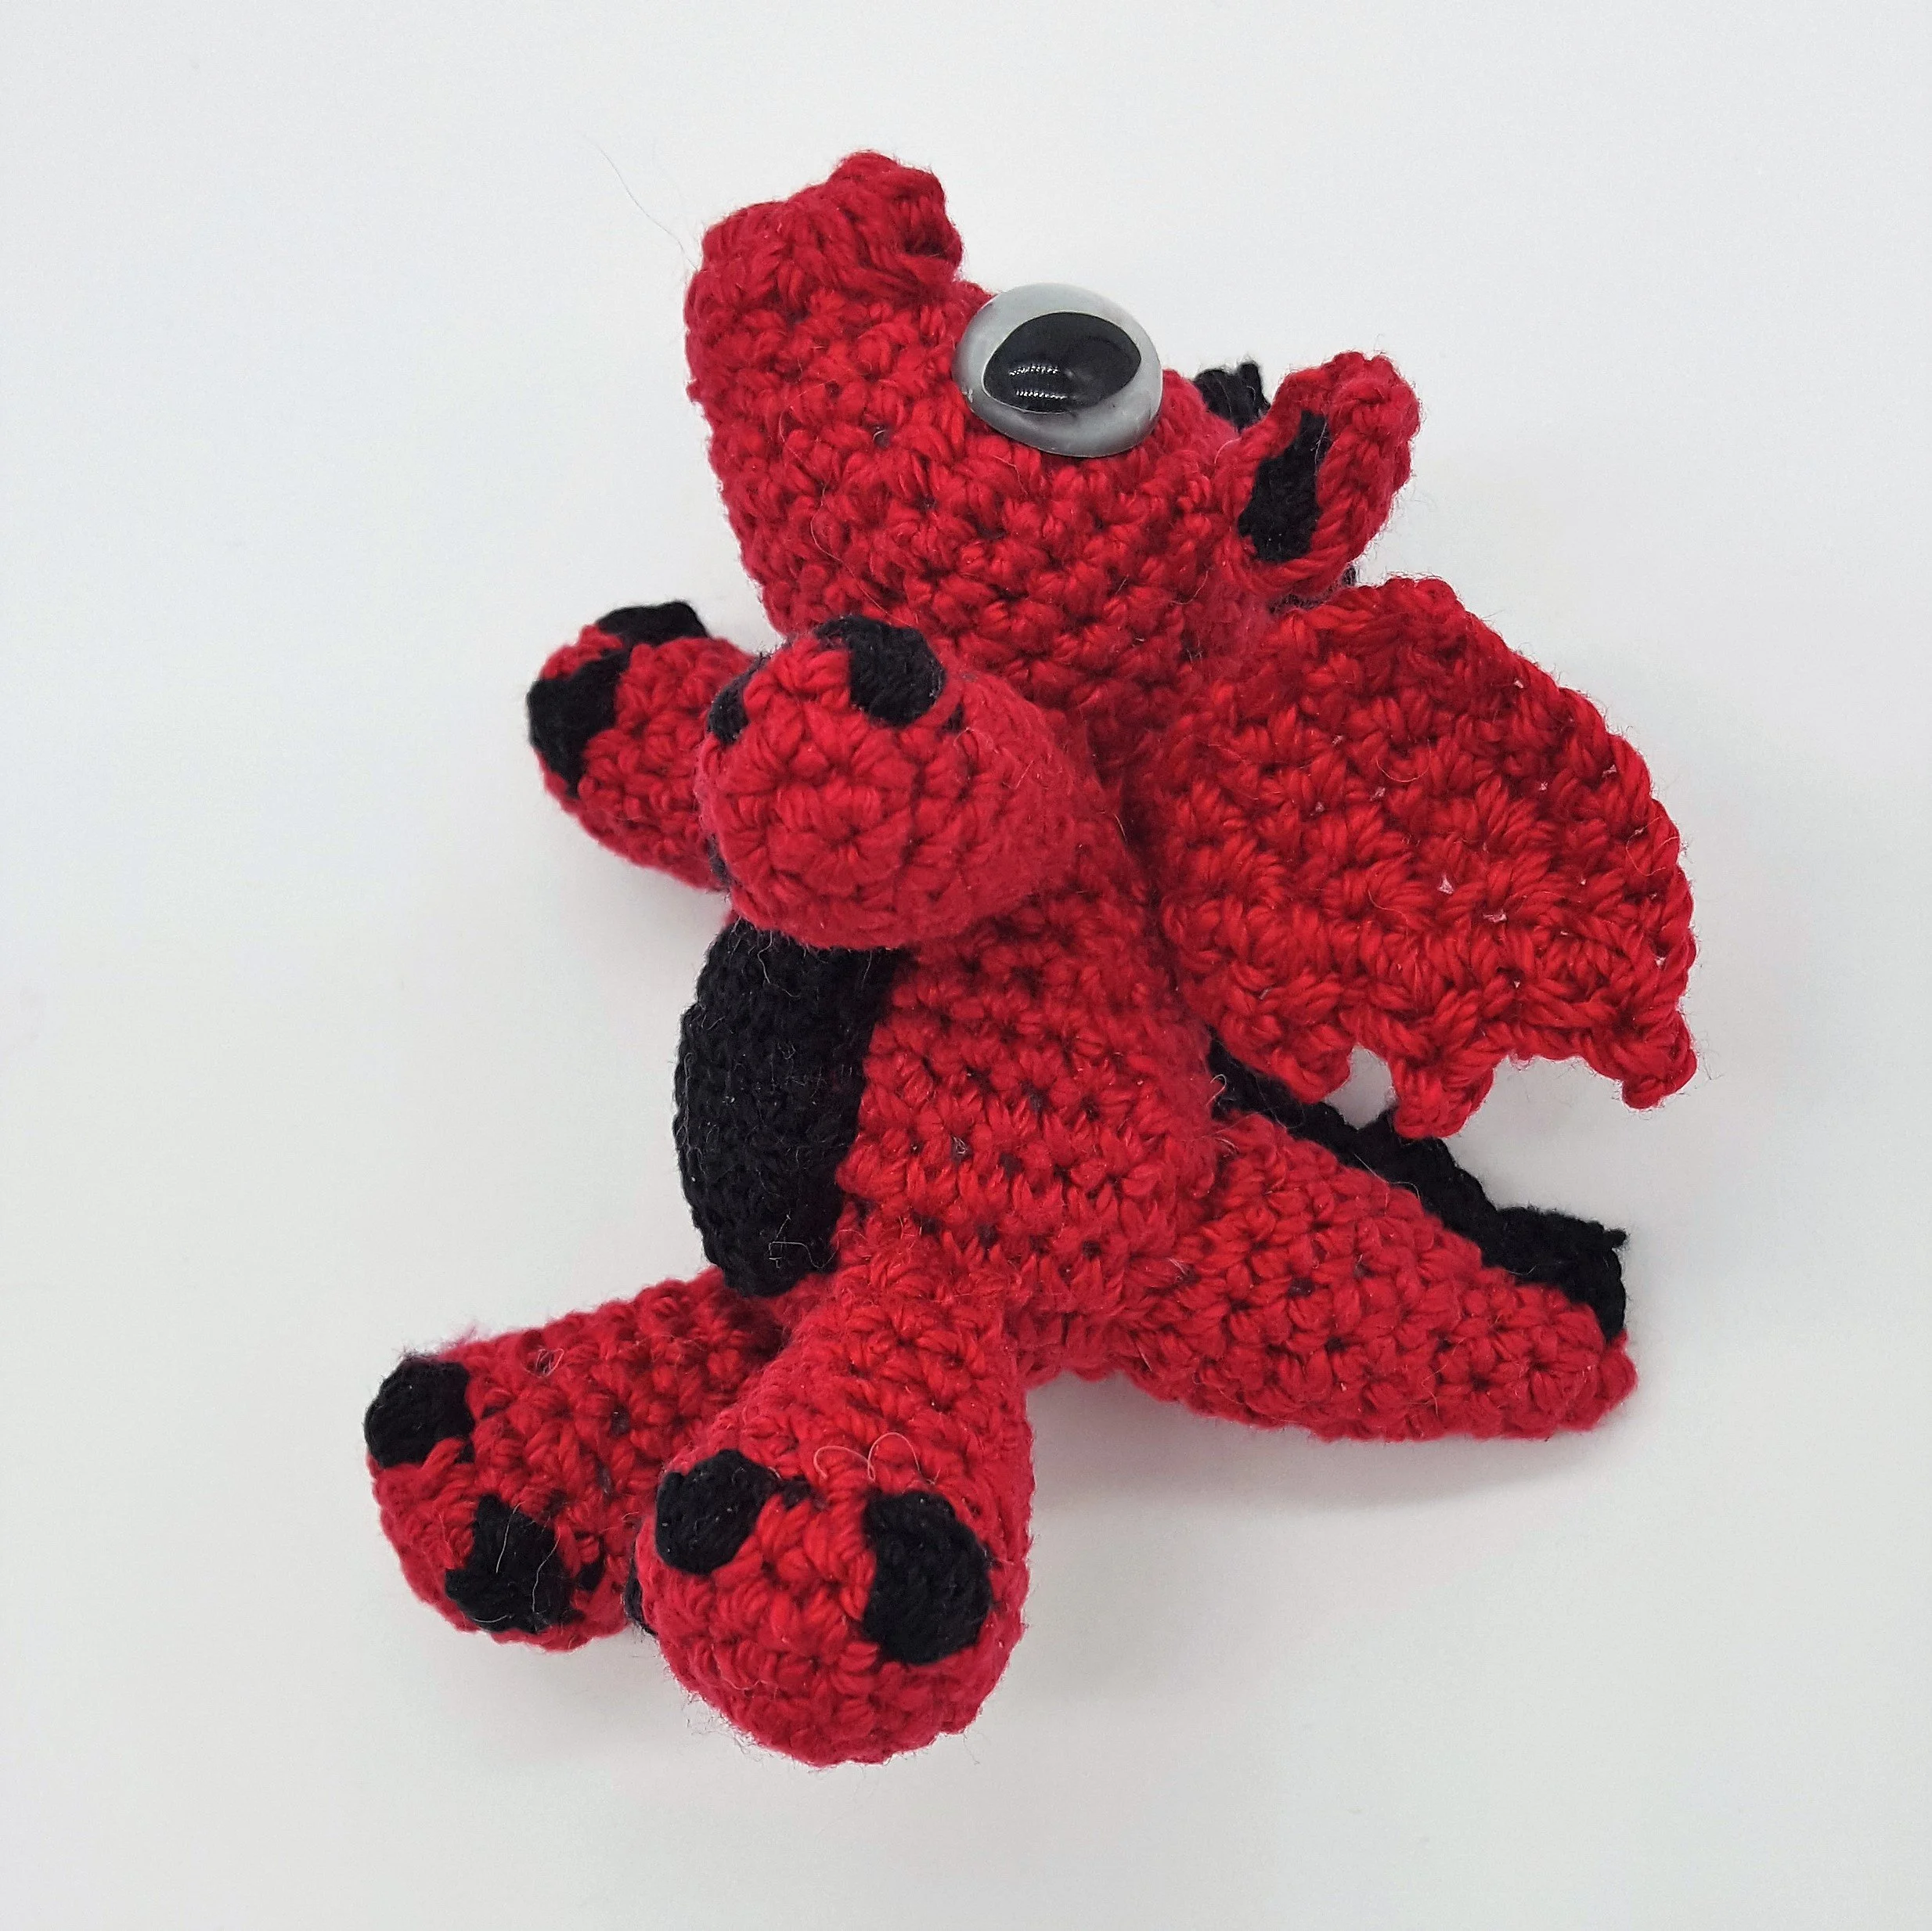
Note: The pictured dragon wings are not included in this pattern.
🧶 Materials You'll Need
To conjure your baby dragon, gather these magical tools:
Aunt Lydia's Crochet Cotton Classic Size 10 (Recommended colors are optional, but the amounts needed are listed below).
Main Color (MC):Tomato (0251)– 20 g for Body, Head, Arms, Legs, and Wings
Contrast Color (CC): Black (0012) – 1 g for Belly, Spine, and Claws
12 mm safety eyes
Poly-Fil stuffing
1.80 mm crochet hook
Scissors, stitch markers, and a yarn needle
1.80 mm crochet hook
🐉 Pattern Overview
This pattern is worked in a continuous spiral and includes:
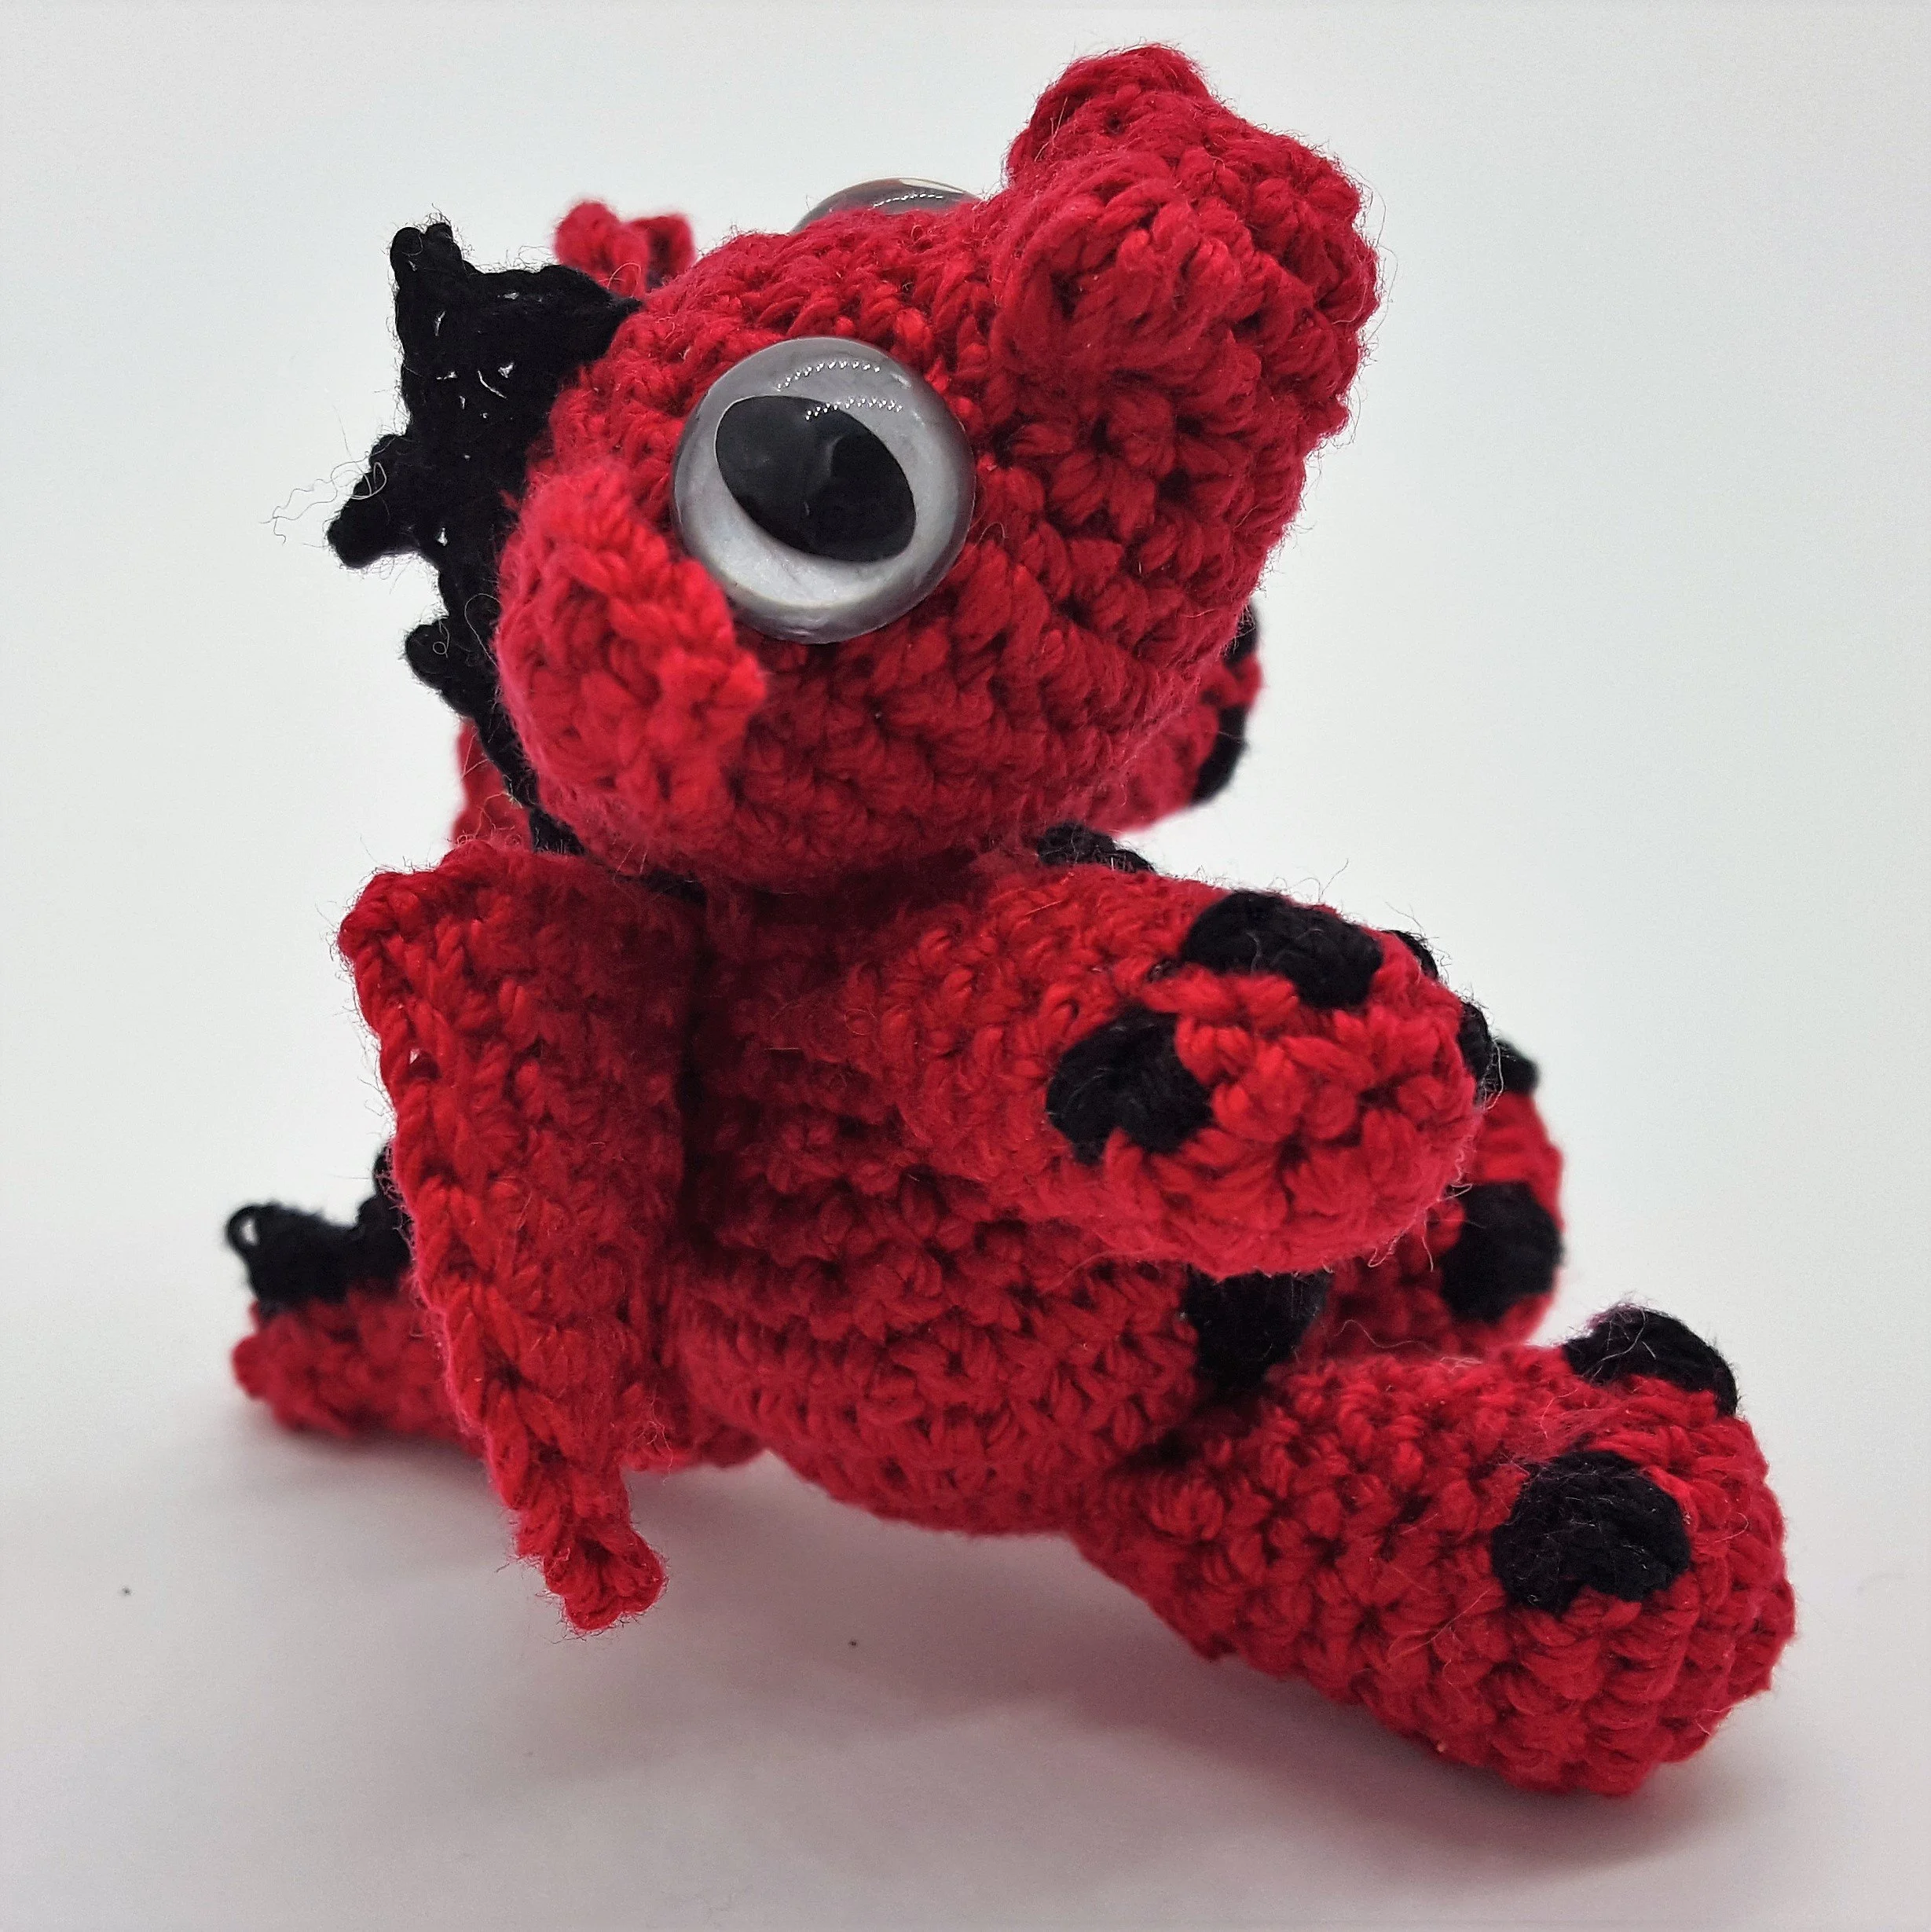
Body & Head: Sculpted with increasing and decreasing rounds, featuring bobble stitches for nostrils.
Arms & Legs: Stuffed as you go, with black bobble claws.
Tail: Tapered and curled with gentle increases.
Breastplate: Worked in rows with alternating back loop stitches.
Ears, Spine, Horns, and Wings: Each element adds character and charm to your dragon.
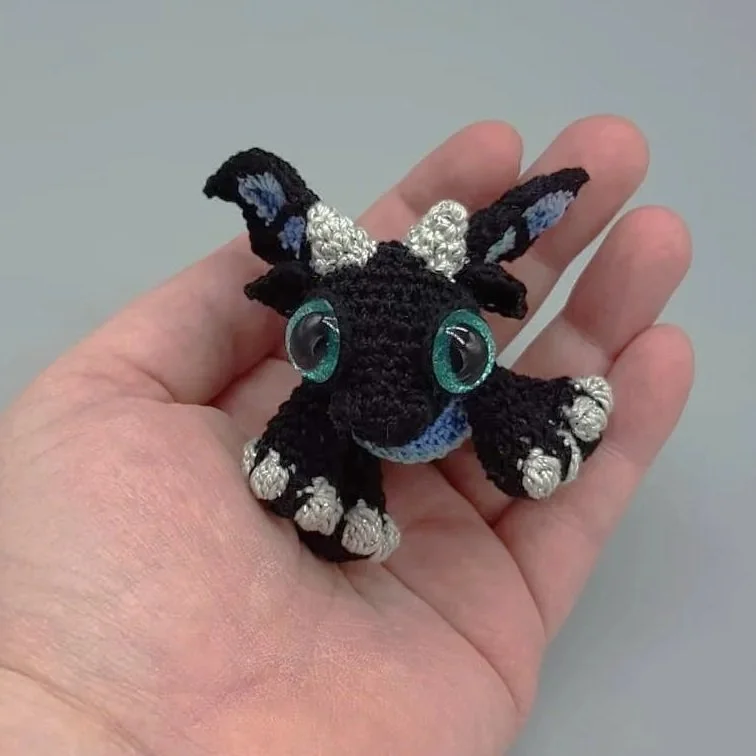
The overall size of this dragon is roughly 2.5 inches tall.
✨ Magical Notes
Insert safety eyes between rounds 9 and 10 of the head.
Use stitch markers to track your spiral rounds.
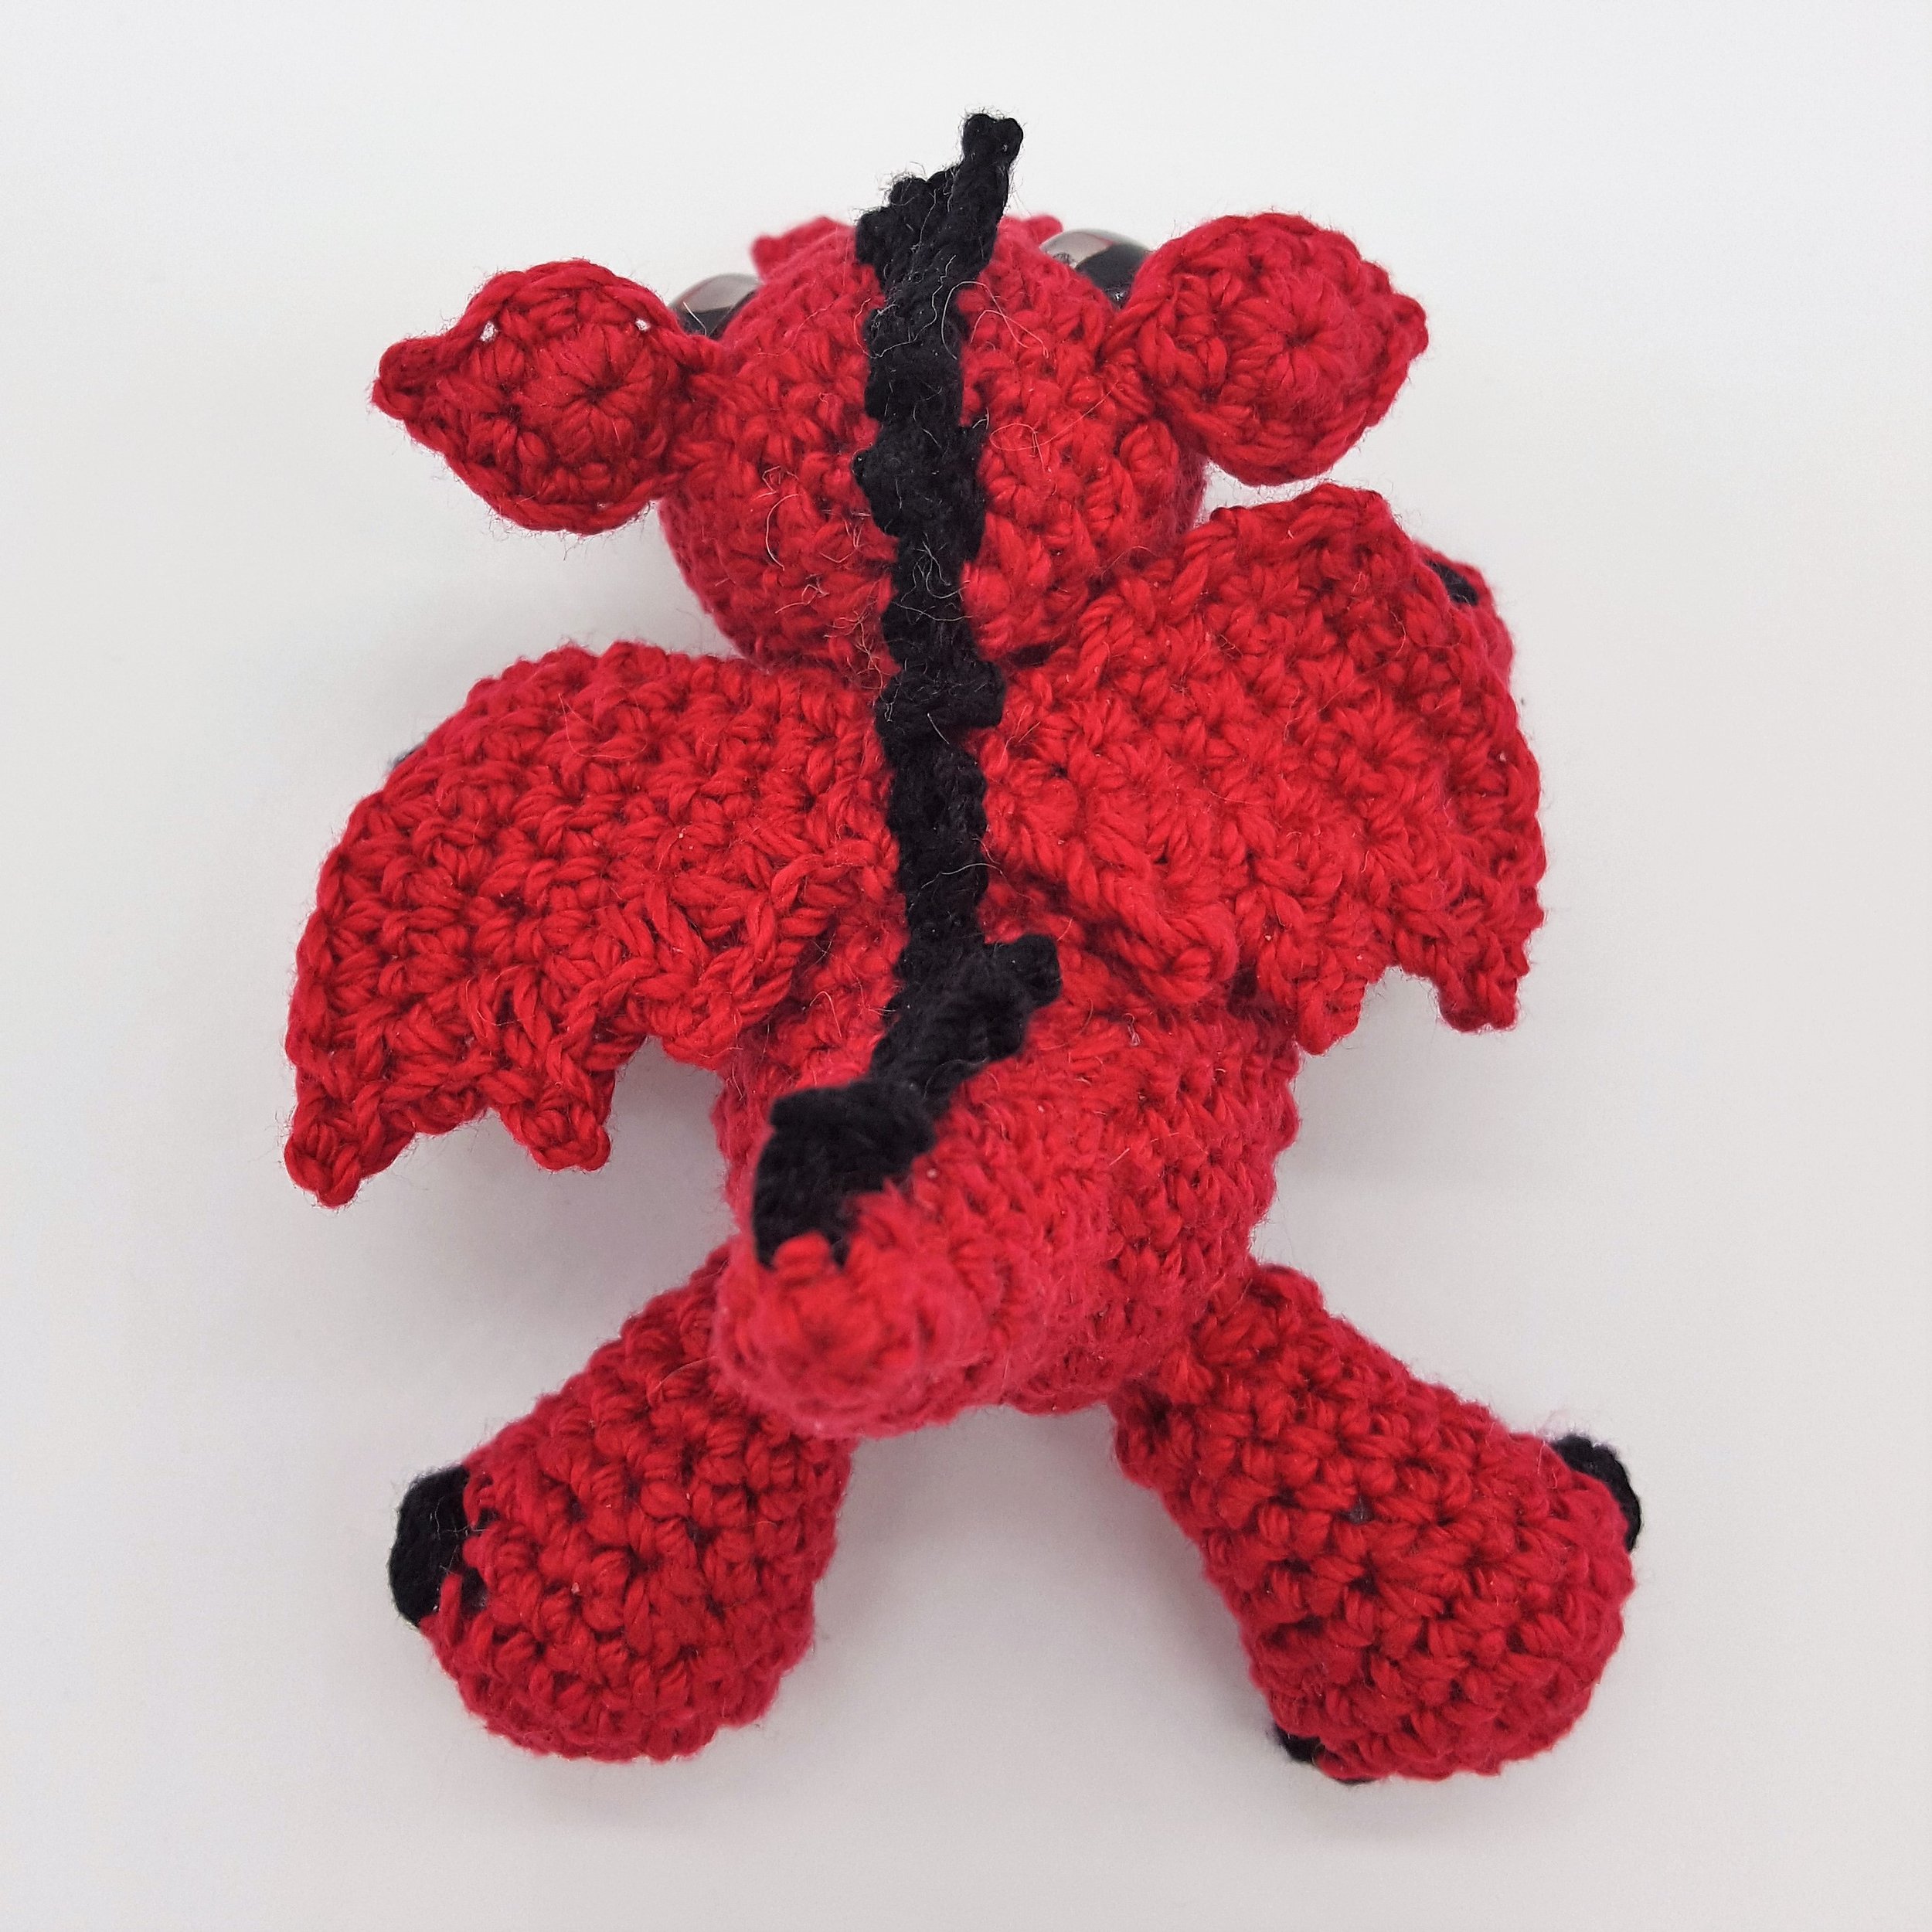
The spine and wings are adorned with decorative stitches to mimic magical ridges and flight feathers.
🔮 Finishing Touches
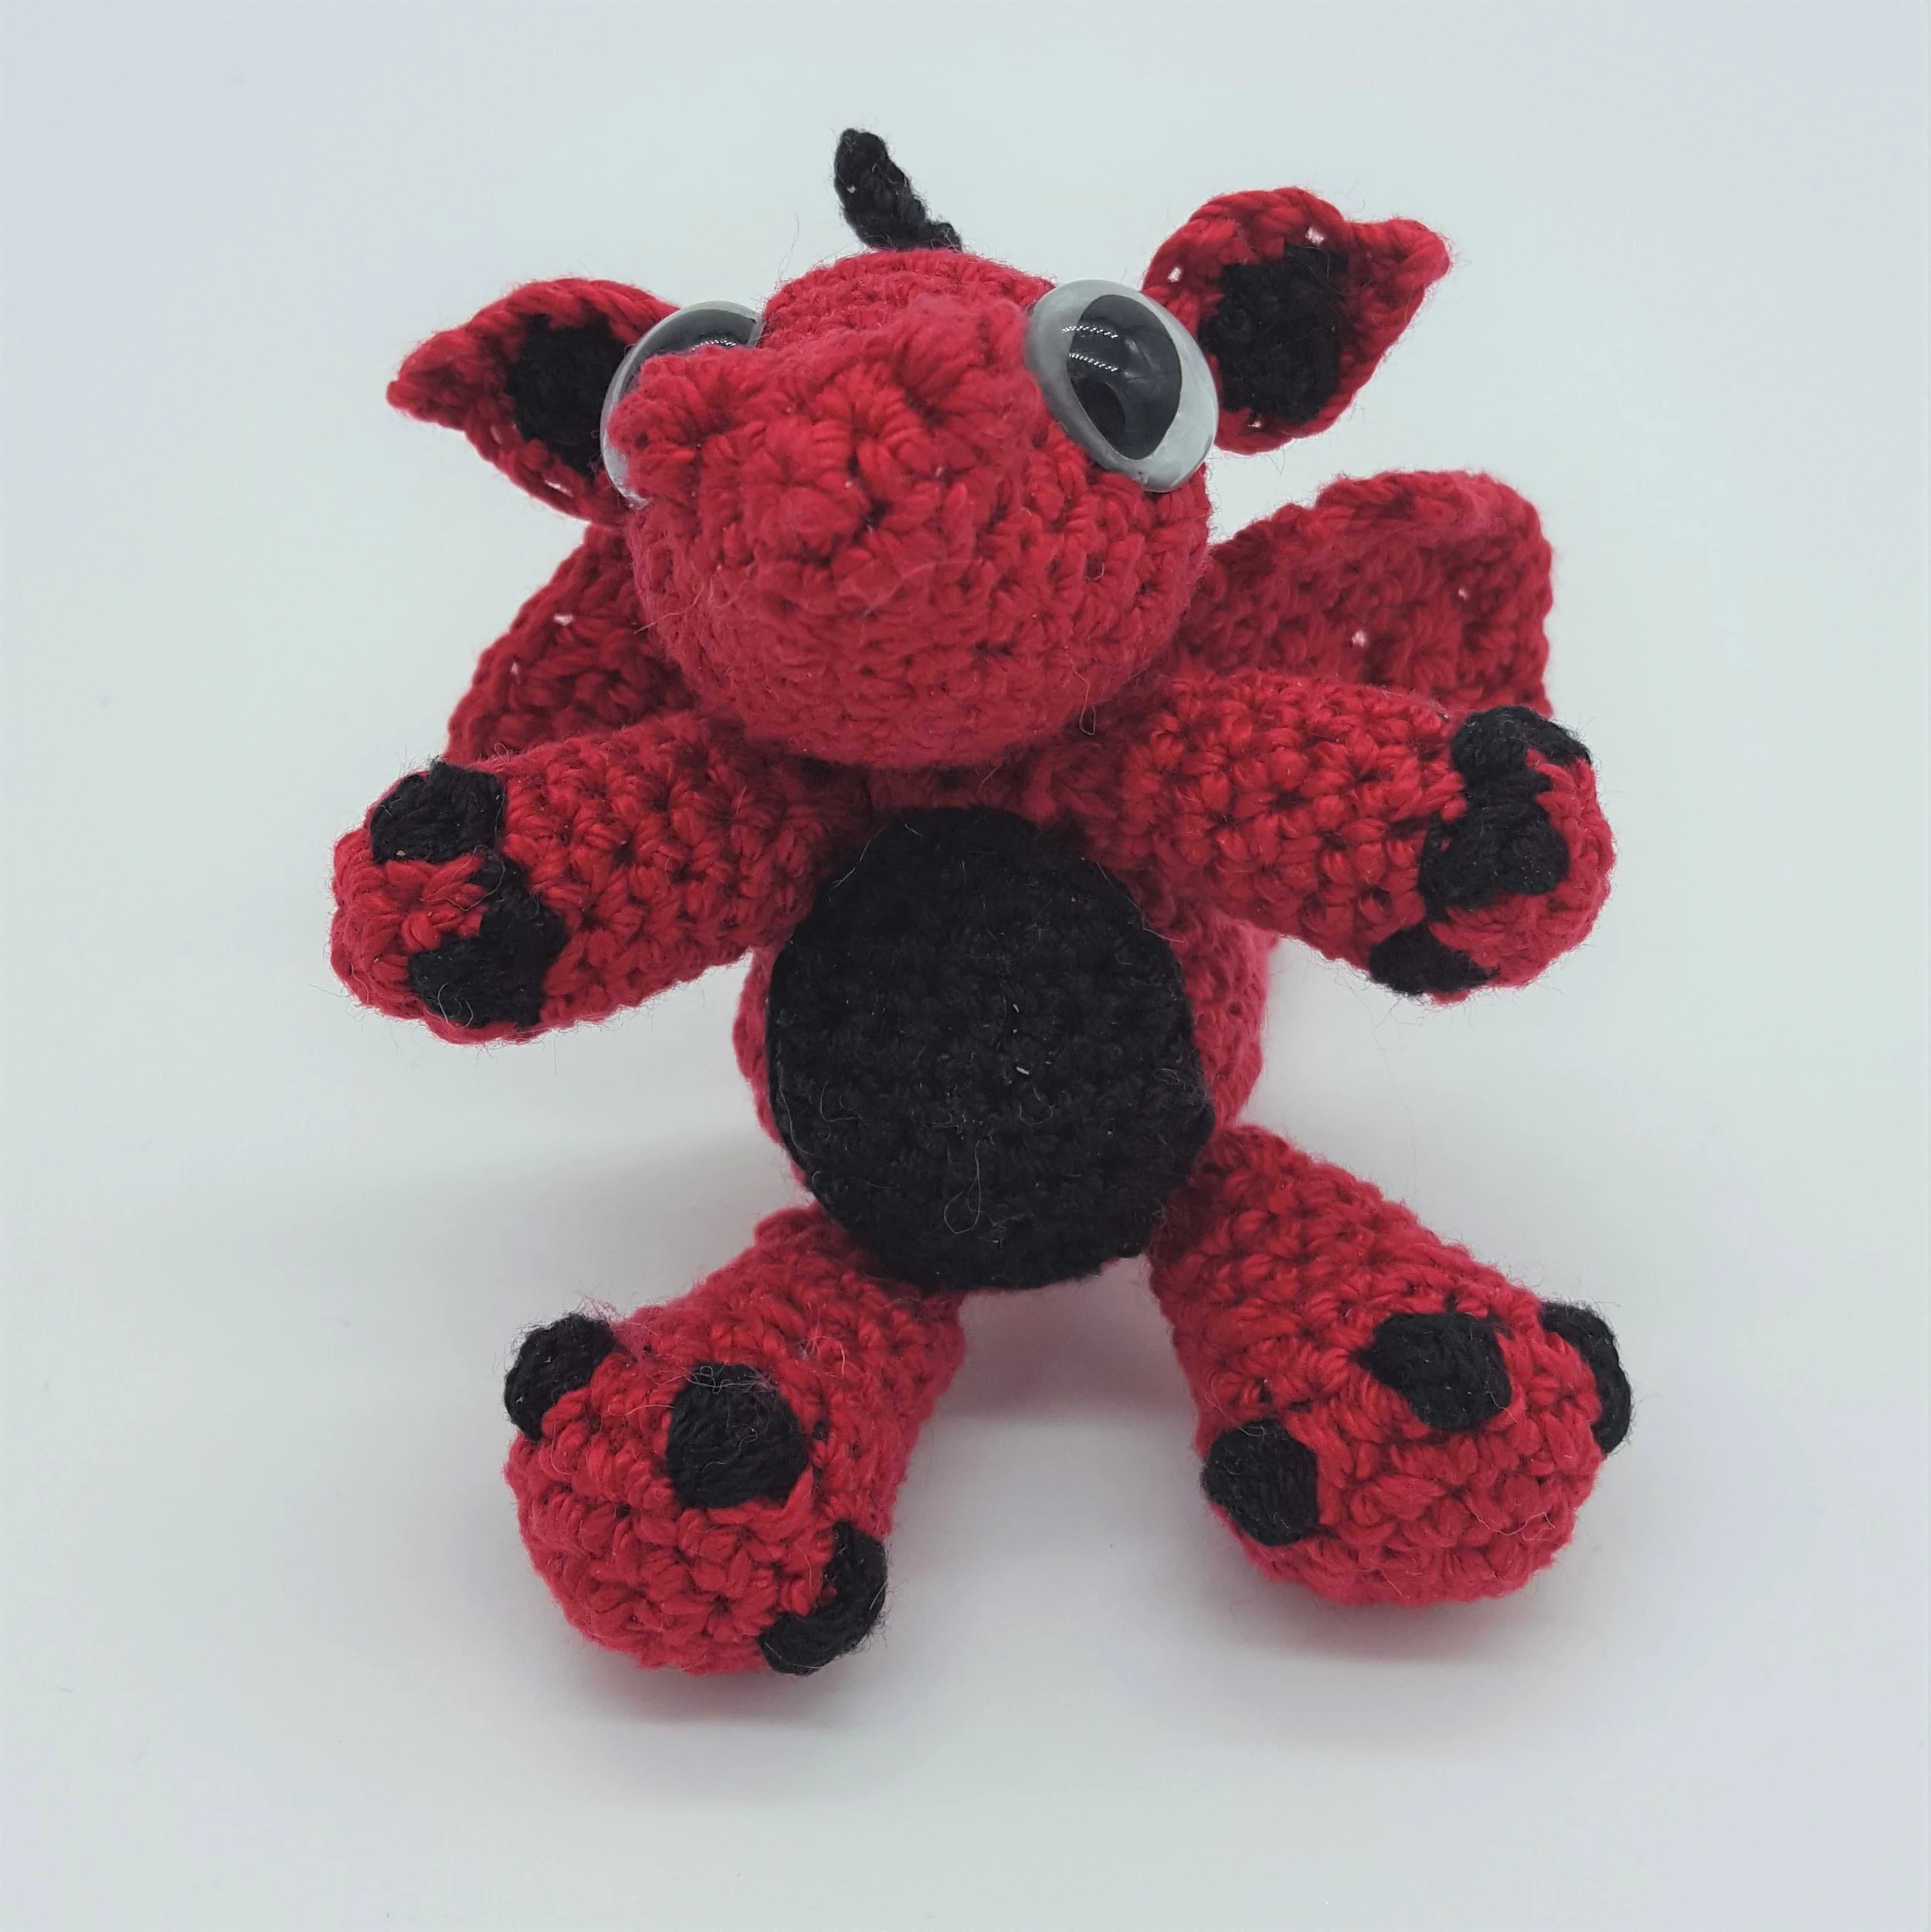
Once all pieces are complete, use the yarn tails to attach each part with care. Your dragon will be roughly 2.5 inches tall, perfect for perching on a shelf or guarding your crafting nook.
Need a PDF download? Click Add to cart below.
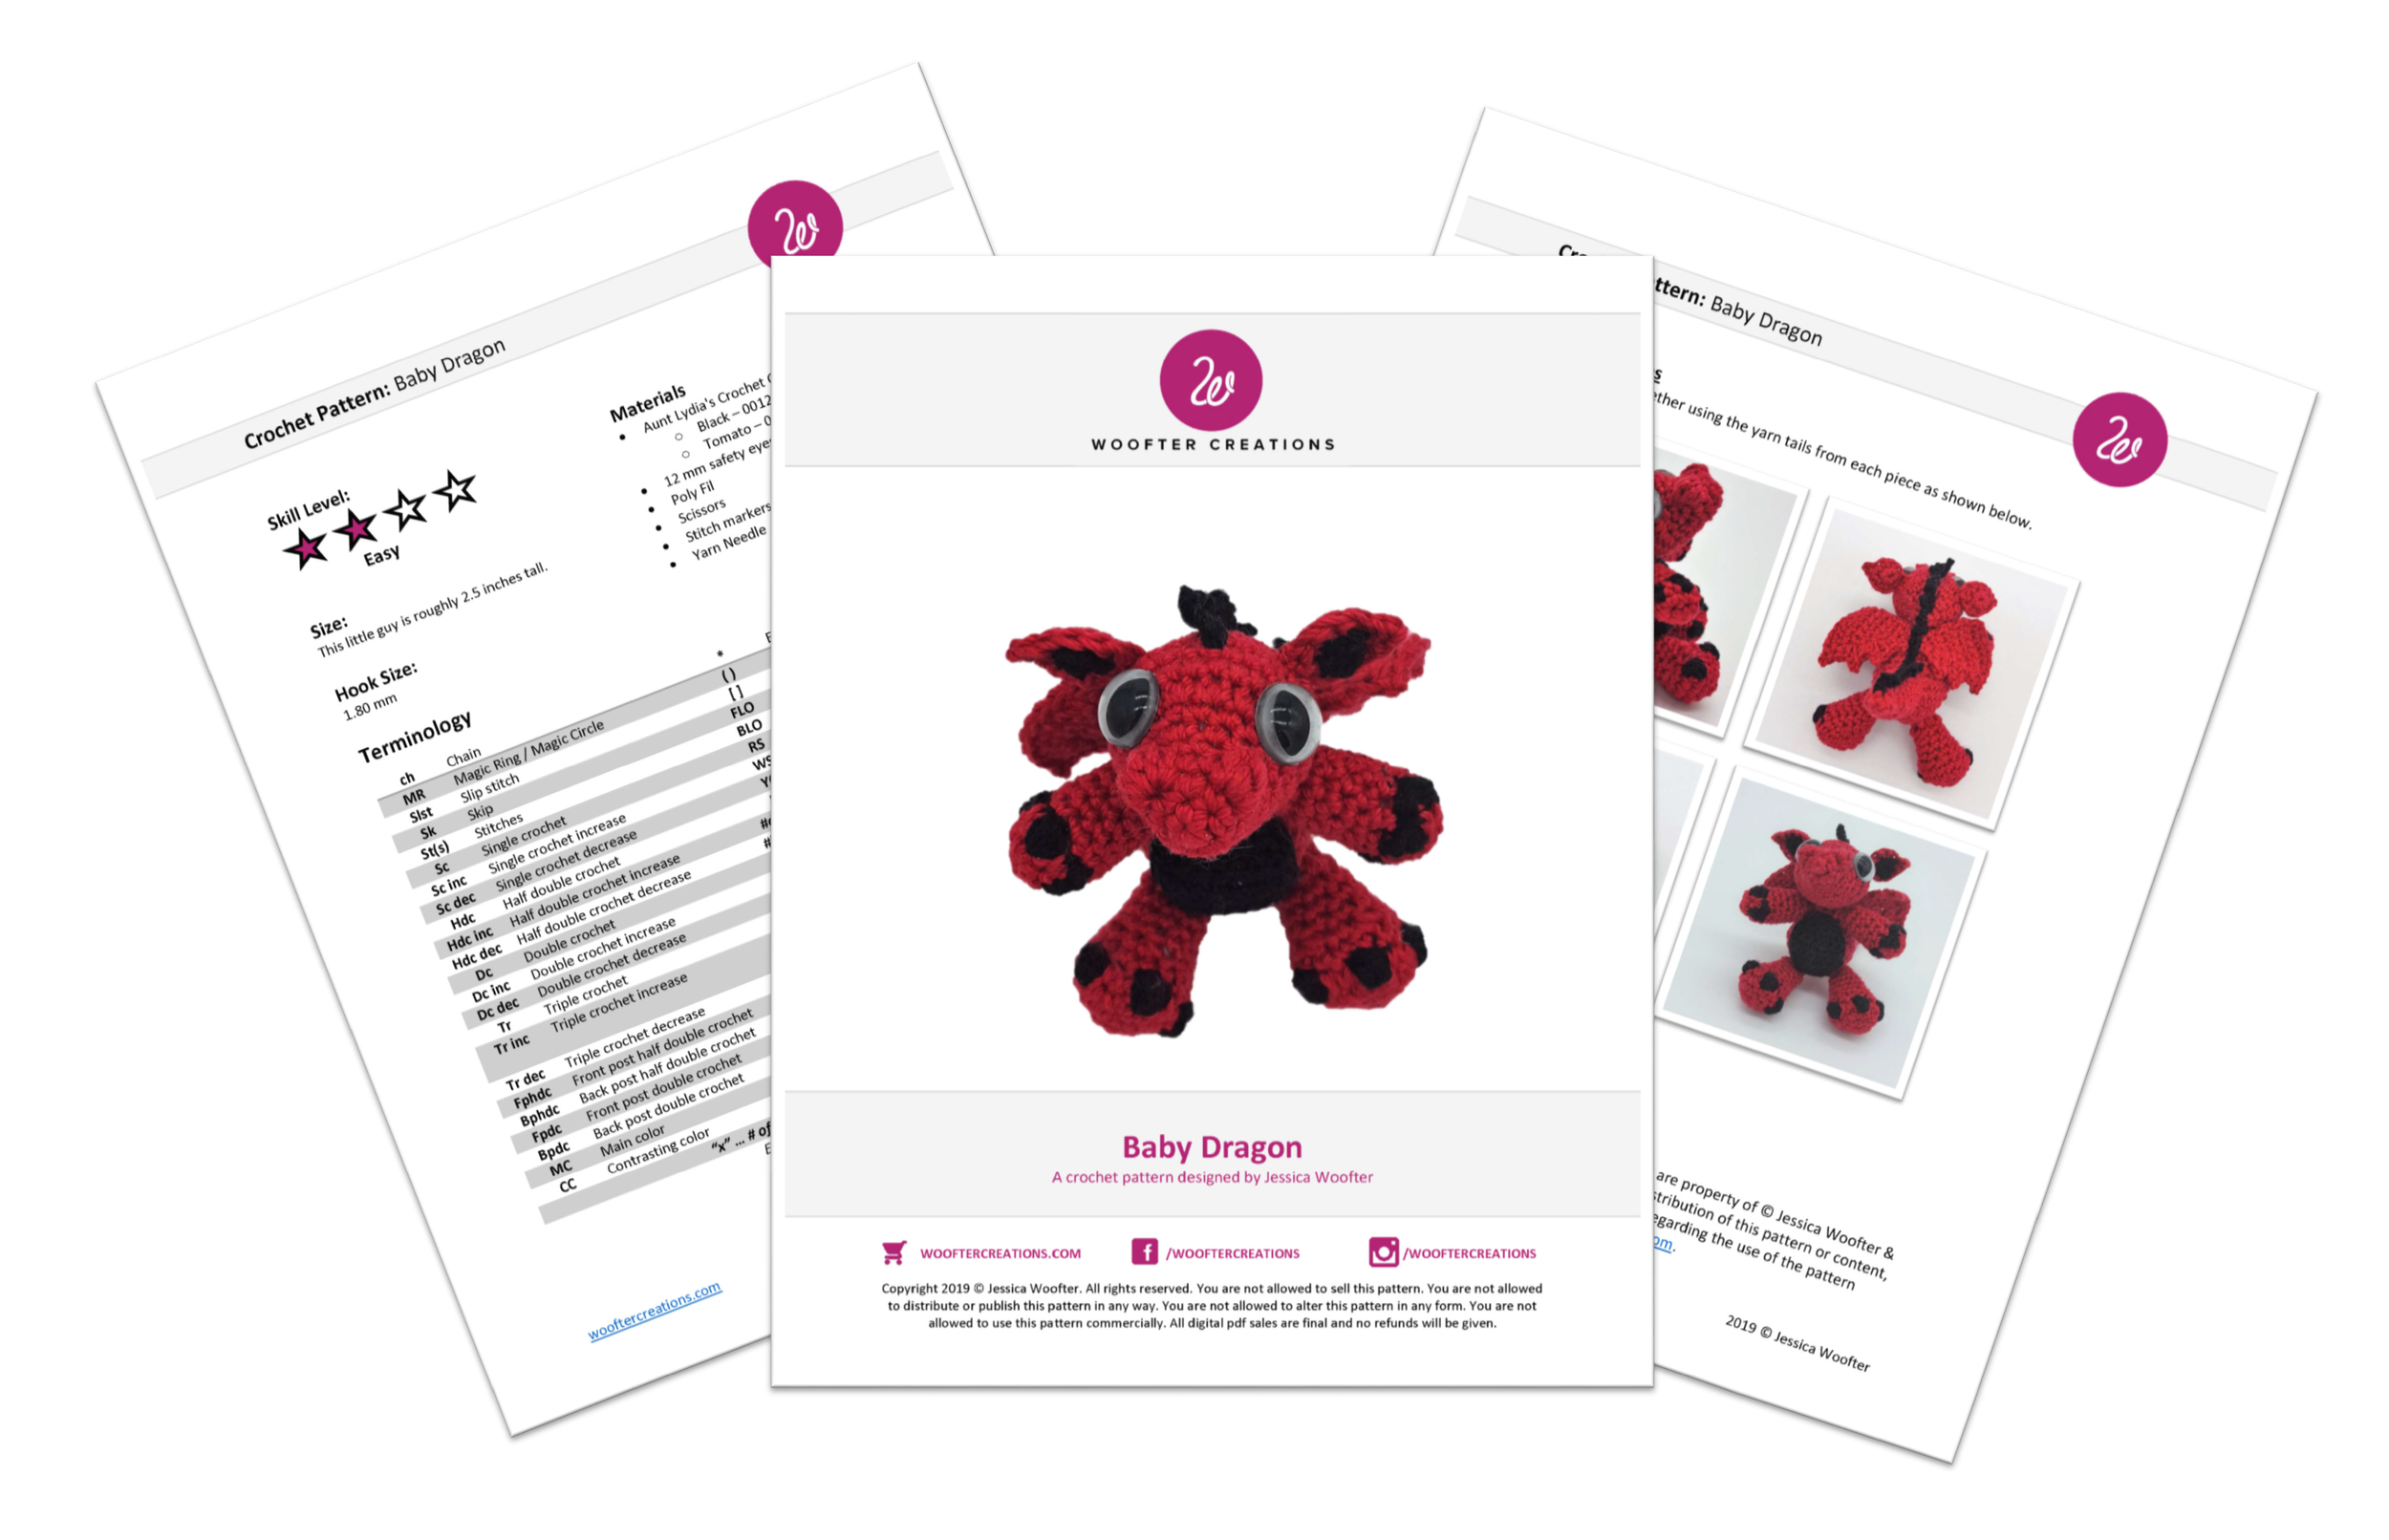
Baby Dragon Crochet Pattern (PDF Download) – Designed by Jessica Woofter
Create your own tiny, adorable baby dragon with this beginner-friendly crochet pattern! This miniature design works up quickly and finishes at approximately 2.5 inches tall, making it perfect for gifts, keychains, or collectible creations.
This easy-level pattern uses size 10 crochet cotton and a 1.80 mm hook, along with simple materials like safety eyes and poly fill. Clear instructions make it accessible for newer crocheters while still fun for experienced makers.
✨ Pattern details:
Skill level: Easy
Finished size: ~2.5 inches tall
Materials include crochet cotton thread, safety eyes, stuffing, and basic tools
Instant digital download (PDF)
Perfect for crafting cute dragons in no time—great for markets, gifts, or adding a magical touch to your collection!
Copyright 2019 © Jessica Woofter. All rights reserved. You are not allowed to sell this pattern. You are not allowed
to distribute or publish this pattern in any way. You are not allowed to alter this pattern in any form. You are not
allowed to use this pattern commercially. All digital PDF sales are final, and no refunds will be given.
-
ch - Chain
MR - Magic Ring / Magic Circle
Slst - Slip stitch
Sk - Skip
St(s) - Stitches
Sc - Single crochet
Sc inc - Single crochet increase
Sc dec - Single crochet decrease
Hdc - Half double crochet
Hdc inc - Half double crochet increase
Hdc dec - Half double crochet decrease
Dc - Double crochet
Dc inc - Double crochet increase
Dc dec - Double crochet decrease
MC - Main color
CC -
“ * “ - Extra notes and/or instructions
( ) - Repeate stitch sequences
[ ] - Stitches are done in the same stitch
FLO - Front Loop Only
BLO - Back Loop Only
RS - Right side
WS - Wrong side
YO - Yarn over
hdcBOB - Bobble stitch with # of Hdc
Sc tog - Single crochet # stitches together
Hdc tog - Half double crochet # of stitches together
Dc tog - Double crochet # of stitches together
FO - Fasten off
"x" ... # of times a stitch or sequence is repeated
Example: Round 2: Sc inc x 5. {10)
-
Stuff as you go.
Round 1: In MR, ch 1, sc x 5. (5)
Round 2: Sc inc x 5. (10)
Round 3: (Sc inc x 1, sc x 1) x 5. (15)
Round 4: (Sc inc x 1, sc x 2) x 5. (20)
Round 5: (Sc inc x 1, sc x 3) x 5. (25)
Round 6: (Sc inc x 1, sc x 4) x 5. (30)
Round 7: (Sc dec x 1, sc x 4) x 5. (25)
Round 8: (Sc dec x 1, sc x 3) x 5. (20)
Round 9: Sc x 20. (20)
Round 10: (Sc dec x 1, sc x 2) x 5. (15)
Round 11: Sc x 15. (15)
Round 12: (Sc dec x 1, sc x 1) x 5. (10)
Round 13: Sc x 10. (10)
FO and leave a long yarn tail to attach the body to the head.
-
Stuff as you go.
Round 1: In MR, ch 1, sc x 5. (5)
Round 2: Sc inc x 5. (10)
Round 3: Sc x 3, 5hdcBOB x 1, sc x 2, 5hdcBOB x 1, sc x 3. (10)
Round 4: Sc x 10. (10)
Round 5: (Sc inc x 1, sc x 1) x 5. (15)
Round 6: Sc x 15. (15)
Round 7: Sc x 5, sc inc x 10. (25)
Round 8-10: Sc x 25. (25)
*Insert the safety eyes between rounds 9 and 10. Once eyes are inserted, there should be about 6 stitches between the eyes and line up with the nostrils.
* If you have trouble getting the safety eyes in, try making a hole with the back of the hook first to stretch out the stitches a little before inserting.
Round 11: (Sc dec x 1, sc x 3) x 5. (20)
Round 12: (Sc dec x 1, sc x 2) x 5. (15)
Round 13: (Sc dec x 1, sc x 1) x 5. (10)
Round 14: Sc dec x 5. (5)
FO and weave in ends.
-
Stuff as you go.
Round 1: In MR, ch 1, sc x 5. (5)
Round 2: Sc inc x 5. (10)
Round 3: Make the 5hdcBOB in black and the rest of the arm is in red.
Sc x 2, (5hdcBOB x 1, sc x 1) x 3, sc x 2. (10)
Round 4-9: Sc x 10. (10)
FO and leave a long yarn tail to attach the arms to the body.
-
Stuff as you go.
Round 1: In MR, ch 1, sc x 5. (5)
Round 2: Sc inc x 5. (10)
Round 3: (Sc inc, sc x 1) x 5. (15)
Round 4: Make the 5hdcBOB in black and the rest of the arm is in red.
Sc x 3, (5hdcBOB x 1, sc x 2) x 3, sc x 3. (15)
Round 5: Sc x 15. (15)
Round 6: (Sc dec, sc x 1) x 5. (10)
Round 7-10: Sc x 10. (10)
FO and leave a long yarn tail to attach the legs to the body.
-
This is done in rows and alternates back loop stitches in the even rows.
Row 1: Ch 5, sc x 1 in the 2nd ch from the hook, sc x 3, ch 1, turn. (4)
Row 2: In BLO, sc inc x 1, sc x 2, sc inc x 1, ch 1, turn. (6)
Row 3: In both lps, sc x 6, ch 1, turn. (6)
Row 4: In BLO, sc inc x 1, sc x 4, sc inc x 1, ch 1, turn. (8)
Row 5: In both loops, sc x 8, ch 1, turn. (8)
Row 6: In BLO, sc dec x 1, sc x 4, sc dec x 1, ch 1, turn. (6)
Row 7: In both loops, sc x 6, ch 1, turn. (6)
Row 8: In BLO, sc dec x 1, sc x 2, sc dec x 1, ch 1. (4)
Work sc around the outer edge to obtain an oval shape to the breastplate, FO, and leave a long yarn tail to attach to the body.
-
Stuff as you go.
Round 1: In MR, ch 1, sc x 3. (3)
Round 2: Sc inc x 3. (6)
Round 3-4: Sc x 6. (6)
Round 5: (Sc inc x 1, sc x 1) x 3. (9)
Round 6 - 7: Sc x 9. (9)
Round 8: (Sc inc x 1, sc x 2) x 3. (12)
Round 9-10: Sc x 12. (12)
FO and leave a long yarn tail to attach to the body.
-
Make the black piece first using only Round 1 and FO. Do not FO the one in red until the end of Round 2.
Round 1: In MR, ch 1, sc x 7. (7)
With the red yarn, hold both the red and black pieces together and crochet through both loops of the red and the front loop of the black in the following round.
Round 2: Sc x 3, [sc x 1, ch 3, sc x 1 in 3rd ch from the hook, sc x 11, sc x 3. (9)
FO and leave a long yarn tail to attach the ears to the head.
-
Ch 26, slst x 1 in 2nd ch from hook, (sc x 1, ch 3, sc x 1 in 3rd ch from hook, sc x 1, slst x 1) x8. (33)
FO and leave a long tail to attach the spine down the back of the head, body, and tail.
-
Round 1: In MR, ch 1, sc x 3. (3)
Round 2: Sc inc x 3. (6)
Round 3: (Sc inc x 1, sc x 1) x 3. (9)
FO, lightly stuff, and leave a long yarn tail to attach the horns to the head.
-
The wings are done in rows.
Row 1: Ch 3, sc x 1 in 2nd ch from the hook, sc x 1, ch 1, turn. (2)
Row 2: Sc x 1, sc inc x 1, ch 1, turn. (3)
Row 3: Sc inc x 1, sc x 2, ch 1, turn. (4)
Row 4: Sc x 3, sc inc x 1, ch 1, turn. (5)
Row 5: Sc inc x 1, sc x 4, ch 1, turn. (6)
Row 6: Sc x 6, ch 1, turn. (6)
Row 7: Sc inc x 2, sc x 4, ch 1, turn. (8)
Row 8: Sc dec x 2, sc x 4. (6)
Now working along the edge of the wing.
([Hdc x 1, ch 3, sc x 1 in 3rd ch from the hook, hdc x 1], sc x 1) x 3. (12)
FO and leave a long tail to attach the wings to the back of the body.
